How to Use the Pocket Colorimeter DR300?
The pocket colorimeter dr300 is a compact tool for checking selected water-quality parameters in the field or laboratory. Reliable results depend on more than pressing a button. The operator must match the instrument’s program, reagent, and sample procedure to the parameter being tested. Small steps matter. A clean vial, correct fill level, and careful handling can help prevent misleading readings.
This guide explains how to prepare the instrument, select a test, and take a measurement in a clear, repeatable way. It also covers practical details: blanking the sample when the method requires it, adding reagents in the correct order, observing the stated reaction time, and reading the displayed result with its units. Timing matters. It is easy to rush this part. That deserves a second look.
Because procedures can differ between tests, always consult the DR300 user manual and the instructions supplied with the specific reagent or method. Do not assume that one procedure fits every parameter. Before recording a result, check the vial for fingerprints or bubbles and confirm that the display shows the intended program. If a value seems unusual, repeat the measurement with fresh preparation and review each step rather than relying on one reading. These habits support more consistent measurements, though they cannot replace appropriate sampling or quality-control procedures. The aim is simple: use the pocket colorimeter dr300 carefully, understand its limits, and document results clearly.
Identify the DR300 Model, Target Analyte, and Method-Specific Wavelength
How to Use the Pocket Colorimeter DR300?
Using a Pocket Colorimeter DR300 begins with identification, not pressing the power button. Confirm the exact DR300 model, measurement range, and available filter or wavelength. Similar housings can support different optical configurations. Record the model number and method code beside the sample label. Do not rely on memory. I still write these details down because field work becomes rushed.
The target analyte must match the chemistry in the method. Drinking-water data shows why this matters. The World Health Organization’s 2022 guidelines set nitrate at 50 mg/L and arsenic at 0.01 mg/L. These are different analytes, with different reagents and measurement behavior. A chlorine test cannot replace a phosphate test. U.S. EPA Method 365.1 also demonstrates that phosphorus analysis depends on controlled digestion, reagents, and photometric conditions.
Read the method sheet before selecting the wavelength. Green light near 530 nm may suit some chlorine chemistries, while other reactions require red or near-infrared light. The correct wavelength is method-specific, not simply the instrument’s default. Prepare the blank carefully, wipe the cuvette, and align its marking consistently. Start the timer immediately after reagent mixing. Small timing errors can shift color development. I sometimes repeat a reading when the result looks plausible but the sample is unusually cloudy. That extra check feels inefficient, yet it often exposes a missed blank or an incorrect method selection.
Prepare the Reagent and 10 mL Sample as Required by the Test Method
How to Use the Pocket Colorimeter DR300?
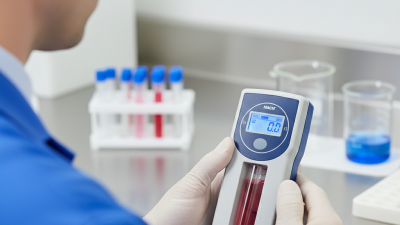
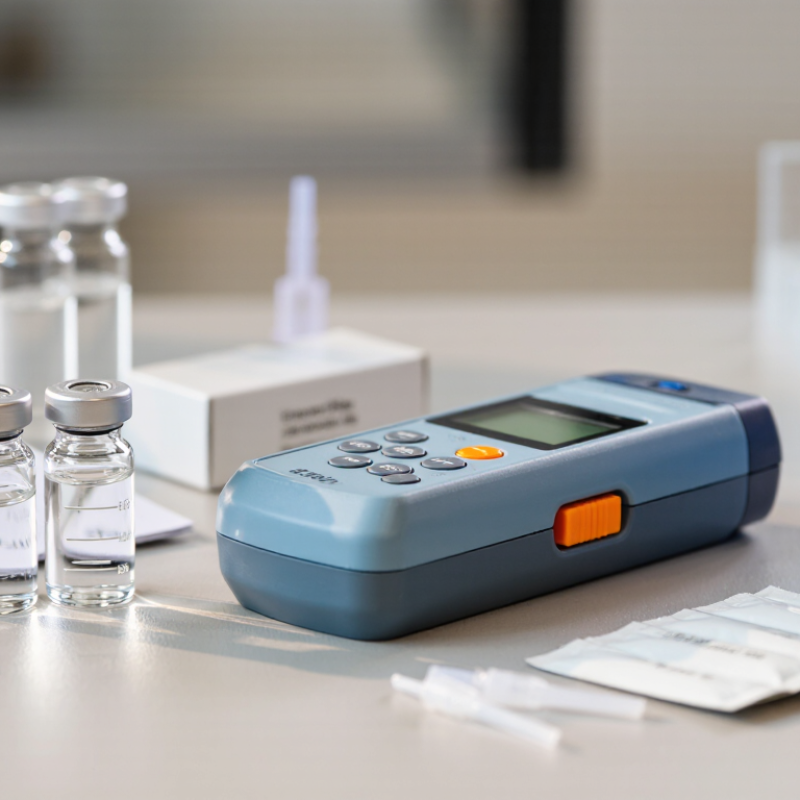
Prepare the reagent and a 10 mL sample exactly as the test method requires. Use a clean measuring vessel and check the sample volume at eye level. Small volume errors can change the final reading. Rinse the sample cell with the test sample before filling it. This reduces dilution from leftover water or another solution. Add the reagent carefully, following the stated amount and order. Some tests require a powder pillow, tablet, or liquid reagent. Do not guess the dosage. Cap the cell firmly, then mix with gentle inversions until the reagent dissolves. Avoid vigorous shaking, which may create bubbles.
Wait for the specified reaction time. Use a timer rather than estimating it. Timing matters because color can continue developing after mixing. Wipe the outside of the cell with a lint-free cloth. Fingerprints, droplets, and scratches may affect light transmission. Place the cell into the instrument in the correct orientation. Keep the sample away from direct sunlight while the reaction develops.
Tips: Prepare a blank when the method requires one. Check that the 10 mL mark is clearly visible before adding reagent. I sometimes recheck the volume too late, which is a preventable mistake. If the result looks unusual, repeat the test with fresh reagent and a clean cell. Record the sample source, reagent lot, reaction time, and reading. These details make later review more reliable.
Zero the Colorimeter with a Reagent Blank Before Measuring
How to Use a Pocket Colorimeter
Accurate color testing begins before the sample measurement. Zero the pocket colorimeter with a reagent blank, not with an untreated sample. A reagent blank contains the water and all required reagents, but no test sample. This setup helps correct for reagent color, slight turbidity, and background light. Use clean, dry vials with matching surfaces. Even small fingerprints can affect the reading.
I have rushed this step before. The result looked reasonable, but it was not dependable. Prepare the blank exactly as the test method describes. Add the correct reagent volume, mix gently, and wait for the stated reaction time. Keep the vial away from direct sunlight during development. Wipe its outside with a lint-free cloth. Then place it into the chamber, align the mark consistently, and close the lid before pressing zero. Check that no bubbles cling to the optical path. They can scatter light.
Now prepare the treated sample using the same timing and mixing technique. Do not reuse a blank after contamination or a long delay. If the blank reading changes unexpectedly, inspect the vial, reagent condition, and water quality. Repeat the zeroing step when needed. A stable zero is useful evidence, but it is not proof of perfect accuracy. Compare occasional results with a control sample or an independent laboratory measurement. That extra check may reveal habits you thought were harmless.
Read the Result in mg/L and Check It Against the Method’s Calibration Range
How to Use the Pocket Colorimeter DR300?
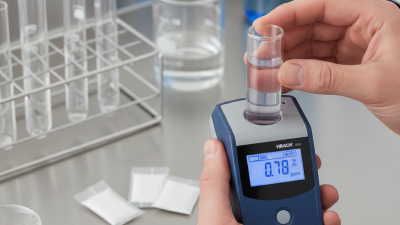
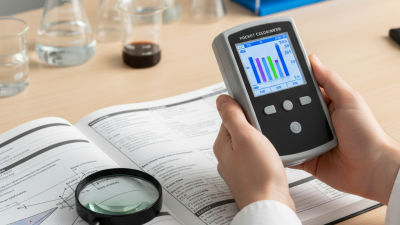
After the reaction develops, read the displayed result in mg/L, not by matching color alone. Record the value, sample ID, test time, and dilution factor immediately. A small transcription error can change a treatment decision. I have found that wet cuvettes, fingerprints, and delayed readings often create avoidable variation.
Check the result against the method’s calibration range before interpreting it. If the method covers 0.00–2.00 mg/L and the display shows 1.86 mg/L, the result is within range but close to its upper limit. If it shows 2.40 mg/L, dilute the sample only when the method permits, then multiply by the dilution factor. Do not report an out-of-range value as precise. That shortcut is tempting, but weak.
Use the applicable standard as context, not as a replacement for calibration control. The World Health Organization’s Guidelines for Drinking-water Quality lists 50 mg/L for nitrate as a health-based guideline, while arsenic is listed at 0.01 mg/L; these values also show why analyte units matter (WHO, 2022). EPA water methods similarly require analysts to follow specified calibration and quality-control procedures, including verification checks (US EPA Method 300.0). Keep the result traceable to the method version, instrument check, and analyst. Sometimes the number looks clean. The evidence may not be.
Clean the Cuvette and Observe the DR300’s IP67 Field-Use Rating
Before measuring, rinse the cuvette as directed by the test method. Fill it to the specified level, then check for bubbles, lint, or residue. Even a small fingerprint can affect light passing through the sample. Wipe the outside with a clean, lint-free cloth, holding the cuvette near its top. Keep the clear sides untouched. If the cuvette has an alignment mark, match it to the meter’s position guide.
Insert the cuvette gently and close the cover before taking a reading. Use the correct program and follow its timing and reagent instructions; different tests may require different steps. I would rather pause and check the method than trust a rushed result. It is easy to miss a bubble. Remove the cuvette after the reading and clean it before storing it.
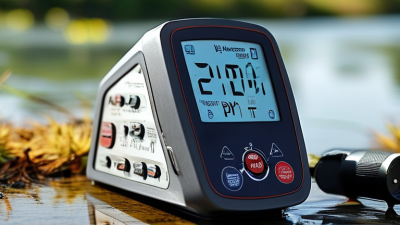
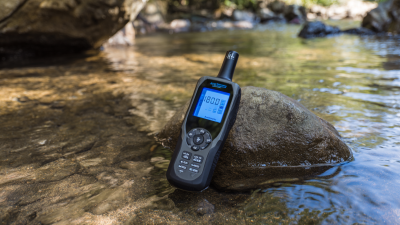
The meter’s IP67 field-use rating means it is designed to resist dust and withstand temporary immersion under specified test conditions. It does not make the instrument suitable for routine underwater use, nor does it guarantee resistance to every chemical or impact. Keep the cap and covers properly closed, and dry the exterior before handling the cuvette. Field equipment gets treated roughly sometimes; that is a reason to inspect it, not to skip care.